

How To Create Facebook Frame In Photoshop
Do you want to visually brand your Facebook Stories and profile photos to promote your business - and let your fans and customers in on it, too?
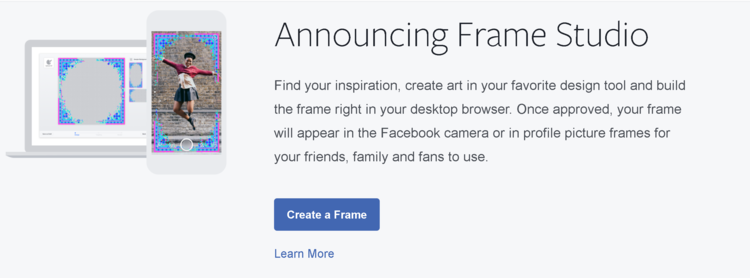
With the Facebook Camera Effects platform and its Frame Studio feature, you can design a custom frame that overlays your Facebook content - videos, photos, and profile photos. Frames are a creative way for people to have fun and show their support for you and your business.
In this post, we'll look at how to use Facebook Camera Effects to create Facebook frames for your business. Designing and publishing your frame is easy. Let's take a look at the process, step-by-step:
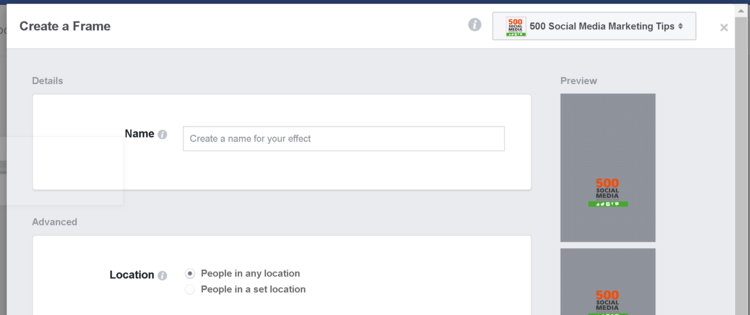
To begin, visit Facebook's Camera Effects Platform page and click "Create a Frame":
This is the Frame creation tool. The best first step is to assign an owner to the frame you create (your personal profile or a Facebook Page) which will make sharing it easier later on. Choose it from the Select Owner drop-down menu:
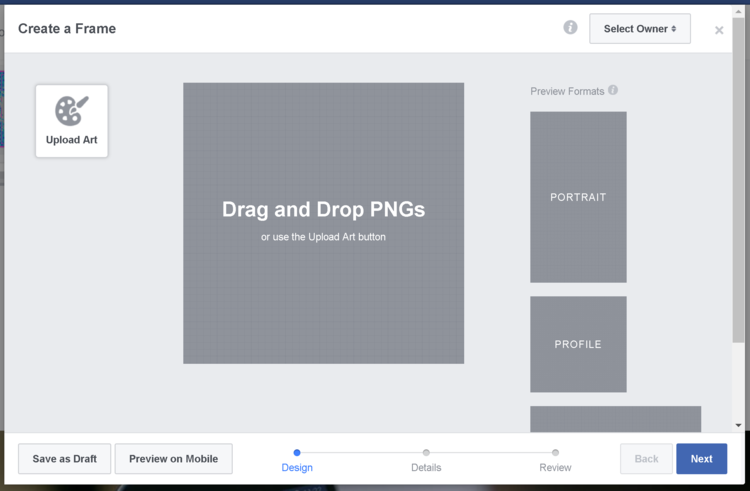
Next, click 'Upload Art' or drag and drop one or more .PNG file into the template. Use the handles to change the size and drag the images around into position.
Here are a few tips to help you design a successful frame:
- Use an image editor like Photoshop or Canva to create the elements of your frame. Each element must have a transparent background.
- Keep it simple. Remember, people will most likely be viewing your frame on a mobile display, so intricate designs won't translate as well.
- Position your art around the edges to frame the photograph - a frame should compliment a profile photo or Facebook camera photo, not dominate or obscure it.
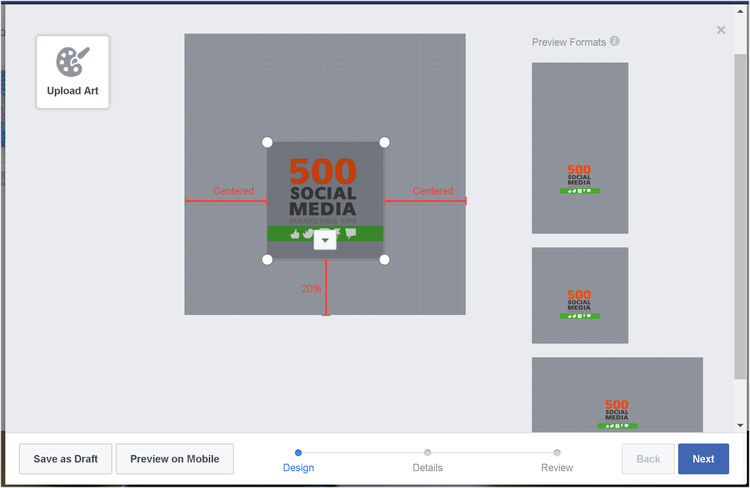
- Uploading images will cause the preview windows for mobile (portrait and landscape) and profile photo to update. Use these as a reference to amend and optimize or frame design:

The examples above show the kind of effect that you can achieve, and how placement is crucial. As you'll notice from my own example from now on, its size and placement could have been improved.
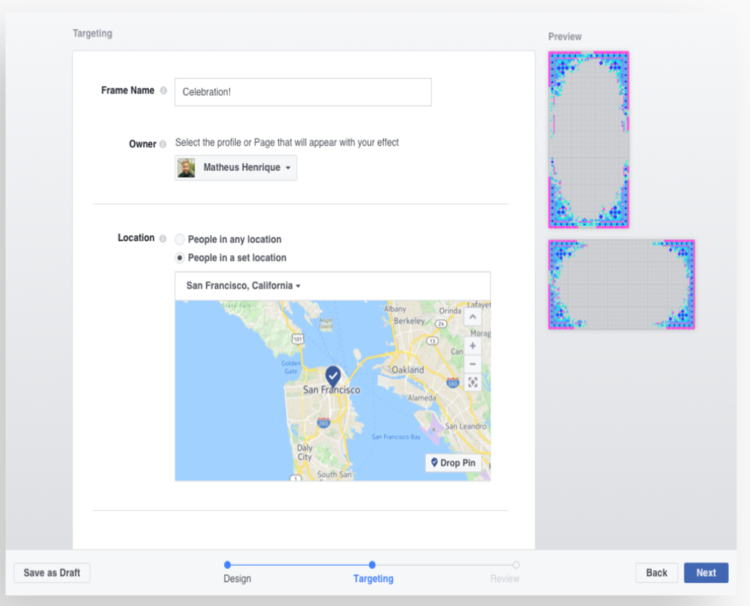
With your design complete, hit 'Next' and give it a name so that it can be searched for by you and fans later on:
By default Facebook Frames can be used by anyone, however the Location option means you can set your frame to be triggered when a user is within a specific location, such as at your business or event:
By the way, if you don't want others to have the ability to create frames at your business' location (potentially overshadowing or sabotaging your efforts!), here's what you need to do:
- Click 'Settings' in the top right of your Facebook Page.
- From 'General', click 'Page Location for Frames'.
- Click next to 'Page Location for Frames' to manage who can create frames at your business' location.
- Click 'Save Changes'.
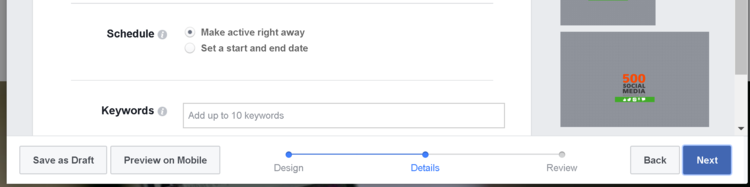
Next, tell Facebook if you want your frame to be available as soon as it's approved, or if you'd rather delay the start date. Last, add up to 10 keywords to help people find your Frame in future:
On the next page, you'll get one last chance to look over your Frame before you publish it.

Once you hit 'Publish' you'll have the chance to share it to the followers on your Page immediately if you wish.
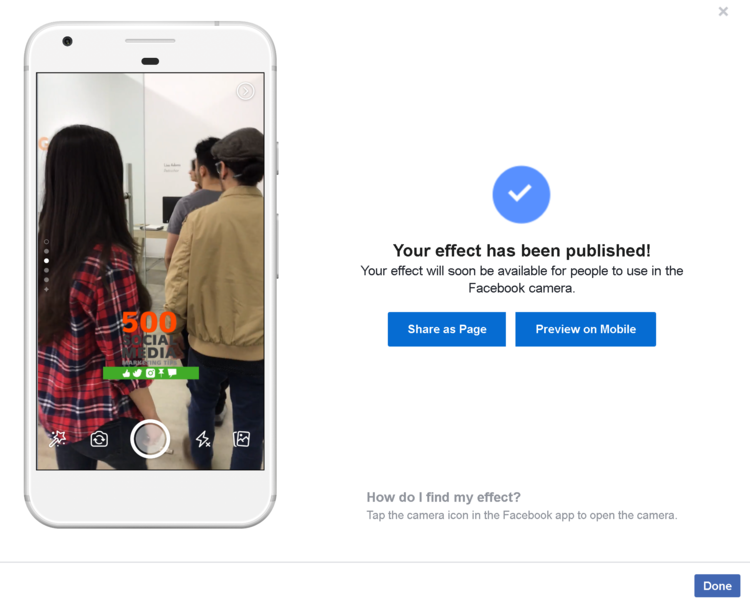
You'll now also be granted access to a hub to manage your Frames; to toggle them on and off, duplicate, preview on mobile, etc.

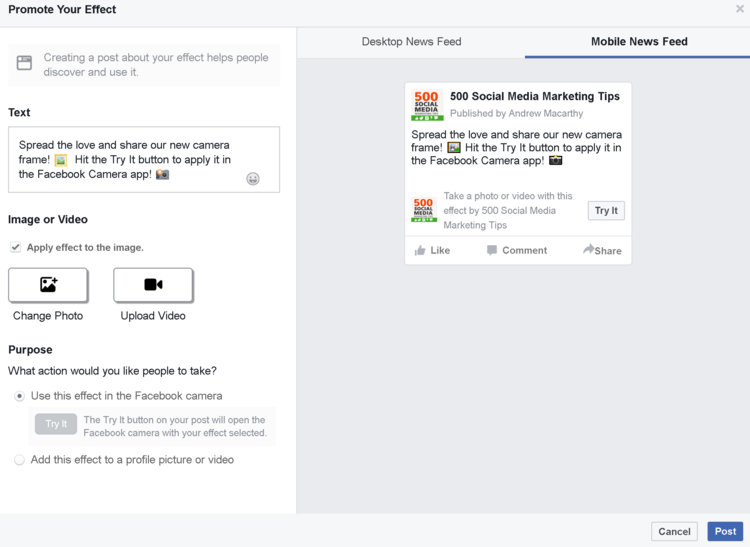
Click on any Frame for sharing options: a link that will send a push notification to people's phones, and a button to share the frame within a post on your Facebook Page:

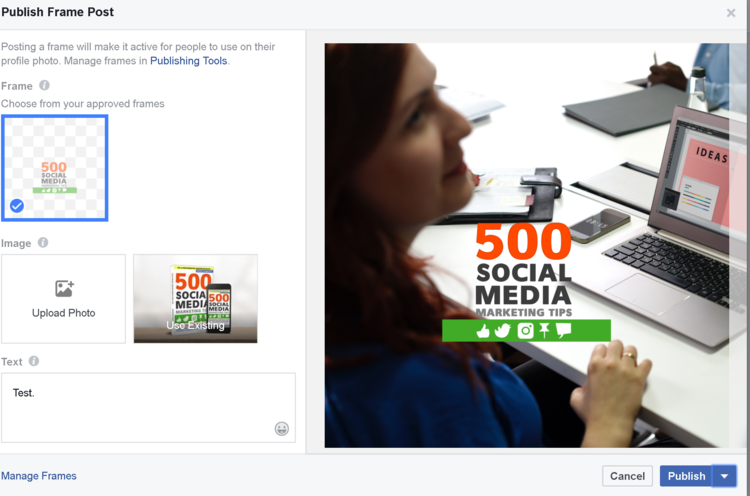
When you share the frame to your Page, you'll be able to write some text to promote it, and accompany it with a photo or video. A "Try It" button will appear next to the post (previewed in the right-hand pane) for users to tap or click. The last option here lets you decide whether to share the frame within the Facebook camera or as a profile photo overlay:
That's about it for the creation process - which, by the way, you can also perform via your Facebook Page directly. In the status update section on desktop, click the "Create a post with your frame" button:
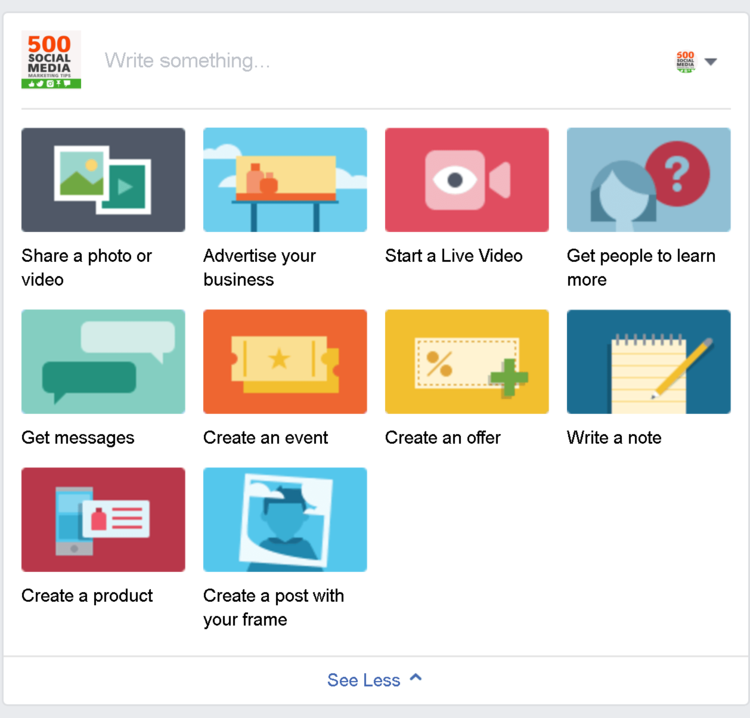
From here, you'll be able to choose an existing frame or upload a new one. You should also be able to manage your frames from the Publishing Tools section of your Facebook Page (but this was not yet available when I tried).
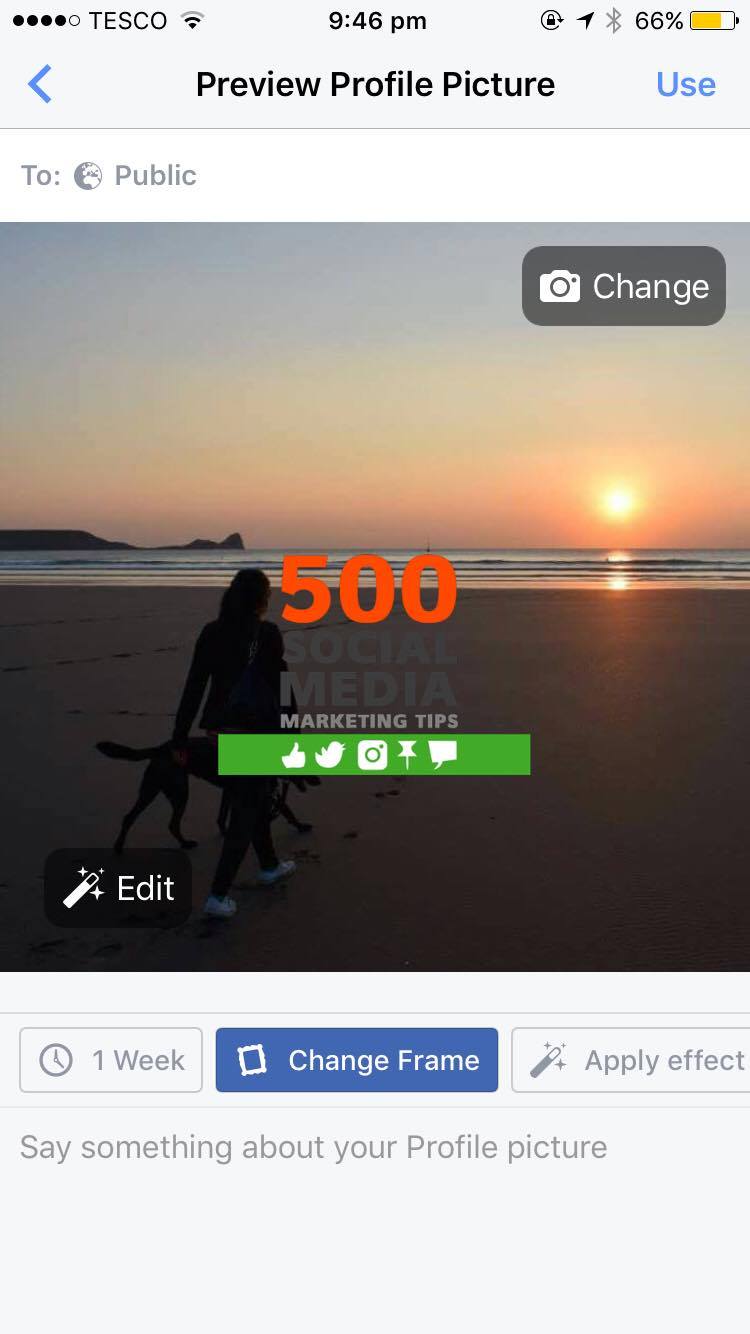
And here's how adding the frames looks in practice via Facebook Stories. When a user opens the Facebook camera after receiving a notificiation, they can tap the magic wand and select your frame.

If a user is adding a frame to their profile photo on mobile, they'll receive a notification too.
On desktop, they can:
- Go to www.facebook.com/profilepicframes
- Click your profile picture in the bottom left and select your Page
- Search for a frame by entering the frame's name, the creator's name or related words
- Choose the frame you want to use from the results
- Click 'Use as Profile Picture'
This is why naming and listing your frame with keywords is so important.
Over to you
Will you be using Facebook Frames as a way to promote your business and encourage fans to do the same? Let me know your thoughts - and share your results - in the comments below.
This post was first published on Andrew Macarthy's blog.
How To Create Facebook Frame In Photoshop
Source: https://www.socialmediatoday.com/news/how-to-make-custom-frames-for-facebook-stories-to-promote-your-business-in/507530/
Posted by: grangerficulaiders.blogspot.com
0 Response to "How To Create Facebook Frame In Photoshop"
Post a Comment