

How To Draw Cute Minnie Mouse Stuff
Learn How To Draw Minnie Mouse Quickly & Easily
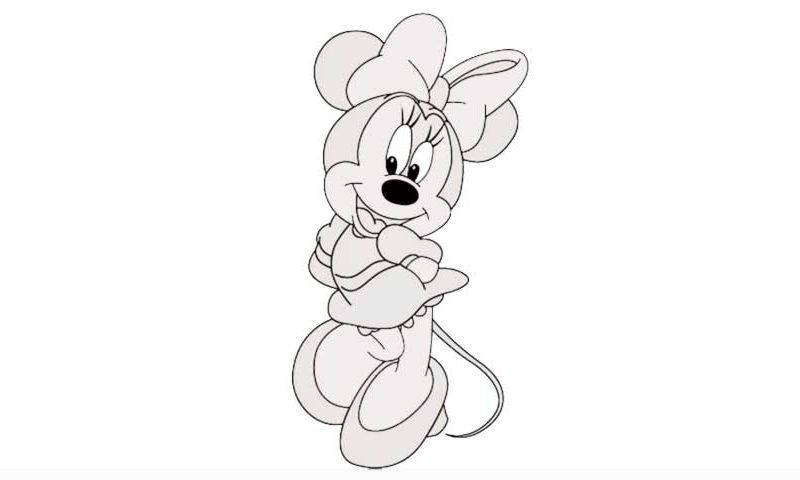
The big, murphy-like nose comes beginning (00 min 04 sec). The eyes sit down correct on meridian of it and almost touch each other (00 min 08 sec). The pupils are located at the very bottom. As for the face, the next footstep in this how to draw Minnie Mouse tutorial, it's pretty standard for a cartoon character of its time (00 min 16 sec). Follow the video guide closely and make sure y'all get every single item right (00 min 20 sec).
The mouth consists of 4 parts: the upper lip, the lower lip, the tongue, and the lines on both sides (00 min 25 sec). The bow is truly amazing and is the biggest eye candy in this drawing. So, treat it with respect and don't attempt to finish it in one get. The foundation comes first. So you tin can move on to the rest of the elements – the one-half-circles on both sides and the lines inside of the bow's main parts (00 min 30 sec).
The torso is the final stage in this how to depict Minnie Mouse tutorial (00 min 38 sec). The left hand is hidden behind the back, while the right one is in her pocket (00 min 44 sec). Nosotros can't come across the fingers, which makes information technology easier to draw them. The dress is nice and fancy, while the feet and the shoes are right in your face (01 min 00 sec). Same goes for the tail.
Before yous learn how to draw Minnie Mouse, did you know?
This young lady is Mickey'southward beloved interest in the legendary cartoon serial. At first, she was just i of his girlfriends. But when the audience gave her the higher praise, the folks backside the bear witness decided to plough her into 1 of the regular members of the cast.
Mickey is all about getting into activity and always wants to show a betoken. He's not a big thinker and prefers to rush into a fight without even questioning his own motives. Minnie, on the other hand, is his direct opposite, and always thinks a couple of steps ahead.
Some Things To Keep In Heed…
These tutorials are only here to guide yous. Your drawing does not need to await "identical" to mine.
Outset with rough but light pencil strokes that you can piece of work into the shapes you want.
One time you lot have your rough drawing completed, go over it in a darker stroke for your terminal drawing.
Add shading and/or color to complete if desired.
Using this technique you will exist able to depict annihilation after some exercise... even without post-obit stride-by-pace tutorials.

Source: https://my-how-to-draw.com/how-to-draw-minnie-mouse-2.html
Posted by: grangerficulaiders.blogspot.com
0 Response to "How To Draw Cute Minnie Mouse Stuff"
Post a Comment